
Understanding Clean-up Functions With ReactJs useEffect() Hook
Optimising your code for better behaviours and performance with clean-up functions.


Have you ever see an error like this?
Warning: Can't perform a React state update on an unmounted component. This is a no-op, but it indicates a memory leak in your application. To fix, cancel all subscriptions and asynchronous tasks in a useEffect cleanup function.

Clean-up functions can be powerful, and knowing how to write one can reduce the memory leaks in your application and also help you in writing better code or prevent other unnecessary behaviours in your app. In this article, I'll explain what clean-up functions are, when to use it, and then we will look at some examples where clean-up functions could save your time and effort.
You'll need some ReactJS and JavaScript knowledge to follow through with this tutorial. Here are some things I assume you already know:
- ReactJS basics (setting up a React application basic component setup)
- Functional components
- Asynchronous JavaScript (mainly using
setTimeout()) - Conditional renderings in JavaScript (You'll be seeing the
if(){}statement often) - Basic usage of the
useEffect()(this is optional because I'll still explain what this is along the way).
Now that we have that out of the way, Let's get started.
What is code clean-up?
Code cleanup refers to the act of writing code so that it cleans up leftover data structures and other unwanted materials from memory and the filesystem.
Source: en.wikipedia.org/wiki/Code_cleanup
In the above image, the explanation of the problem can be put in simple terms this way: We are trying to update a state of a component that has already been unmounted: meaning that the component we are trying to update its state is no longer mounted on the screen but our useEffect is still trying to update that state. This can lead to unnecessary behaviours in you application and even cause memory leaks.
When Should you Write a cleanup function?
Whenever you want to carry out an action immediately a component is unmounted, you could use the cleanup function to do that.
A relatable scenario could be when you're trying to fetch data from an API and while the data is still asynchronously being retrieved for that page, the user switches to a different page. How do you unsubscribe from that fetch action so it doesn't keep fetching data for a component that's no more mounted or keep trying to update the state of a component that's' no more mounted? As you keep reading, we'll simulate an example of asynchronously awaiting an action to complete in the setTimeout() function, and we'll look at how to handle the situation if the component unmounts.
Before the life-circle hooks in ReactJS, you could run a componentDidUnmount() function which runs when a component unmounts, with the life-circle hook useEffect(), we're able to write it directly in the hook.
In the next section, we'll look at how to write a clean-up function, how to prevent the error in the image at the top, and the use-cases where a clean-up function is beneficial to you.
Writing A useEffect() Clean-up Function
Adding a clean-up function to the useEffect() hook is simply returning a function inside of it. The function returned inside the useEffect() hook is the function that runs when you unmount the component. Here's what a typical example of
the useEffect() hook looks like:
useEffect(() => {
    // Do something...
  }, [])
The above snippet is the hook written without the clean-up function in it. Let's quickly look at another example where we'll add the clean-up function in it:
useEffect(() => {
    // Do something...
    return () => {
      // do your clean-up
    }
  }, [])
In the above code snippet, we wrote the useEffect() hook and and wrote a return function inside of it which run its content when the component unmounts.
Now that we have understood what the useEffect() does and how a clean-up function is written, let us go ahead to replicate the problem in our initial image (the image at the top) and then introduce a fix to the problem.
To replicate the problem, let's create a basic React application with two different pages.
I won't go through all the specifics of creating a ReactJS application because I assume that you already have that knowledge if you're facing the issue in this article.
FIrst, create a new React application:
npx create-react-app cleanup_example_app
now go into the project directory and install react-router-dom
npm install react-router-dom
Next, let's create a folder called pages in the src and create two pages inside called homepage.jsx and profile.jsx. src => pages => homepage.jsx src => pages => profile.jsx

Next, let's create all the pages we need.
For the homepage.jsx:
import React from 'react'

const Homepage = () => {
  return (
    <div>
      <h1>Hello and welcome to the homepage</h1>
    </div>
  )
}

export default Homepage
For the profile.jsx:
import React from 'react'

const ProfilePage = () => {
  return (
    <div>
      <h1>Welcome to the profile page!</h1>
    </div>
  )
}

export default ProfilePage
Now in our App.js file, let's remove everything and replace it with this:
import React from 'react';
import { BrowserRouter, Route, Routes, Link } from 'react-router-dom'
import './App.css';
import Homepage from './pages/homepage';
import ProfilePage from './pages/profile';

function App() {
  return (
    <div className="App">
      <BrowserRouter>
        <div>
          <div><Link to="/">Go Home</Link></div>
          <div><Link to="/profile">Go to Profile</Link></div>
        </div>
        <Routes>
          <Route exact path="/" element={<Homepage />} />
          <Route path="/profile" element={<ProfilePage />} />
        </Routes>
      </BrowserRouter>
    </div>
  );
}

export default App;
It's worthy to note that we are using the react-router-dom v6, and as such, there's a slight syntax difference in setting up routing from the other versions.
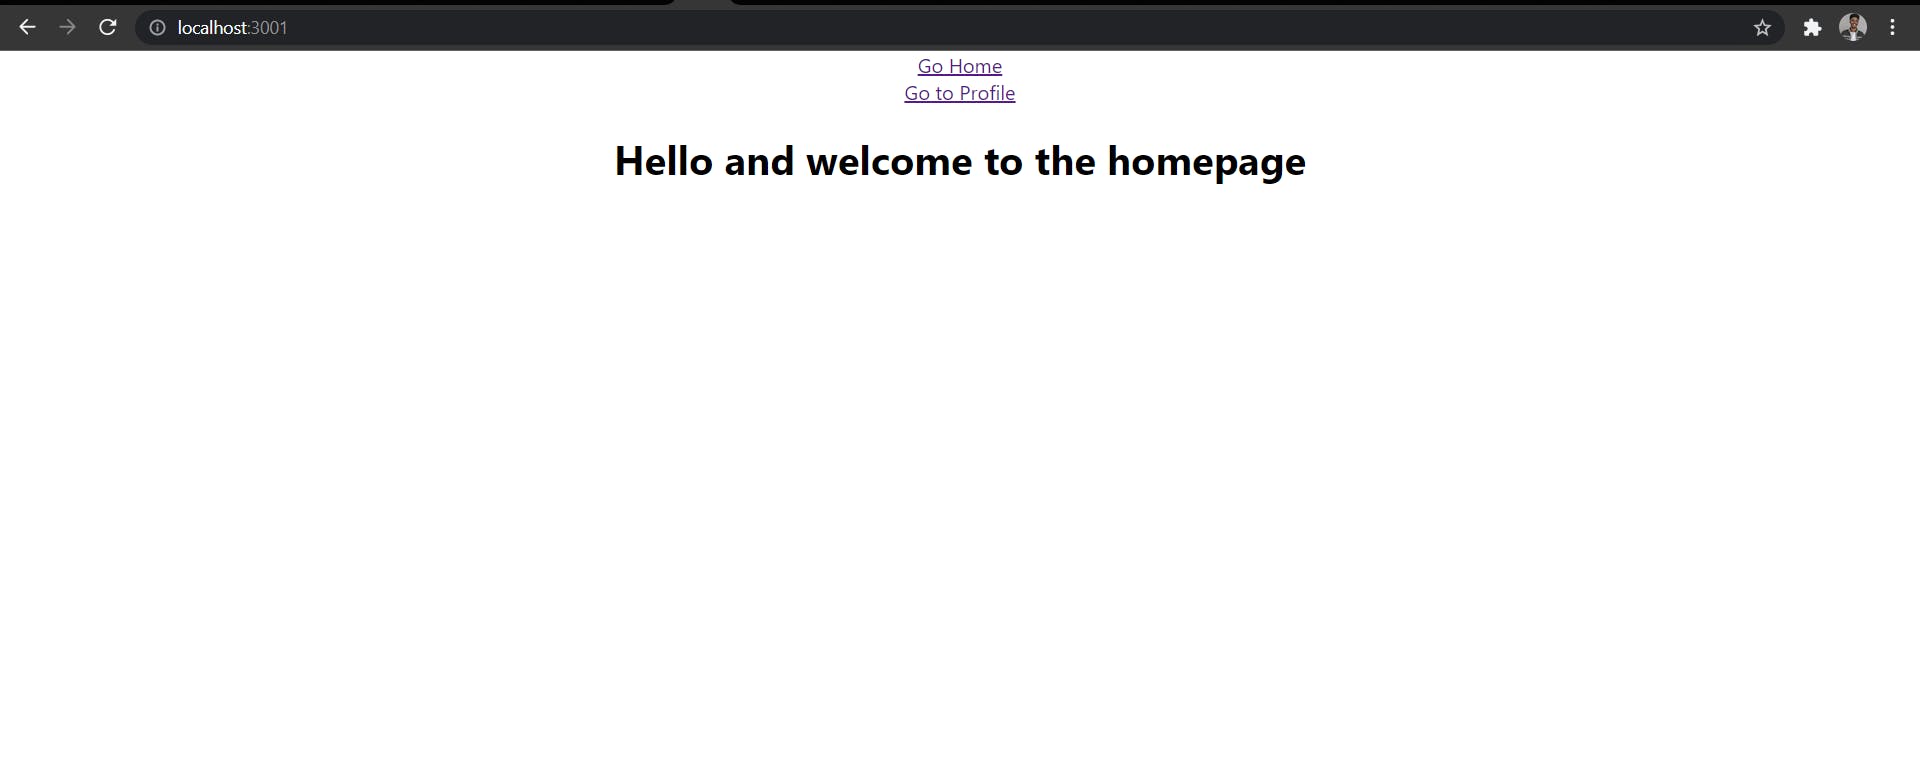
Here's what the web app looks like:
Now that we have a basic app setup, let's simulate our first example for needing a clean-up function.
In our homepage.js file, let's add these lines of code:
import React, { useState, useEffect } from 'react'

const Homepage = () => {
  const [personObject, setPersonObject] = useState({})

  useEffect(() => {
    setTimeout(() => {
      setPersonObject({name: "Daniel Don"})
      alert("Here is the person object: ", JSON.stringify(personObject))
    }, 2000);
  }, [])

  return (
    <div>
      <h1>Hello and welcome to the homepage</h1>
    </div>
  )
}

export default Homepage
In the above code block, first we imported the useState and useEffect hook from React. Next, we created a declared a state value for personObject and initialized it with an empty object.
Our useEffect() hook is where the main thing happens:
We are simulating a request that might take a little while to finish. To do this, we use the setTimeout() (with a timer of 2 seconds) and set our state with an object, then we also alert the stringified set value using an alert() statement.
Let's see what we get when we run this and quickly switch to the profile page before 2 seconds is completed:
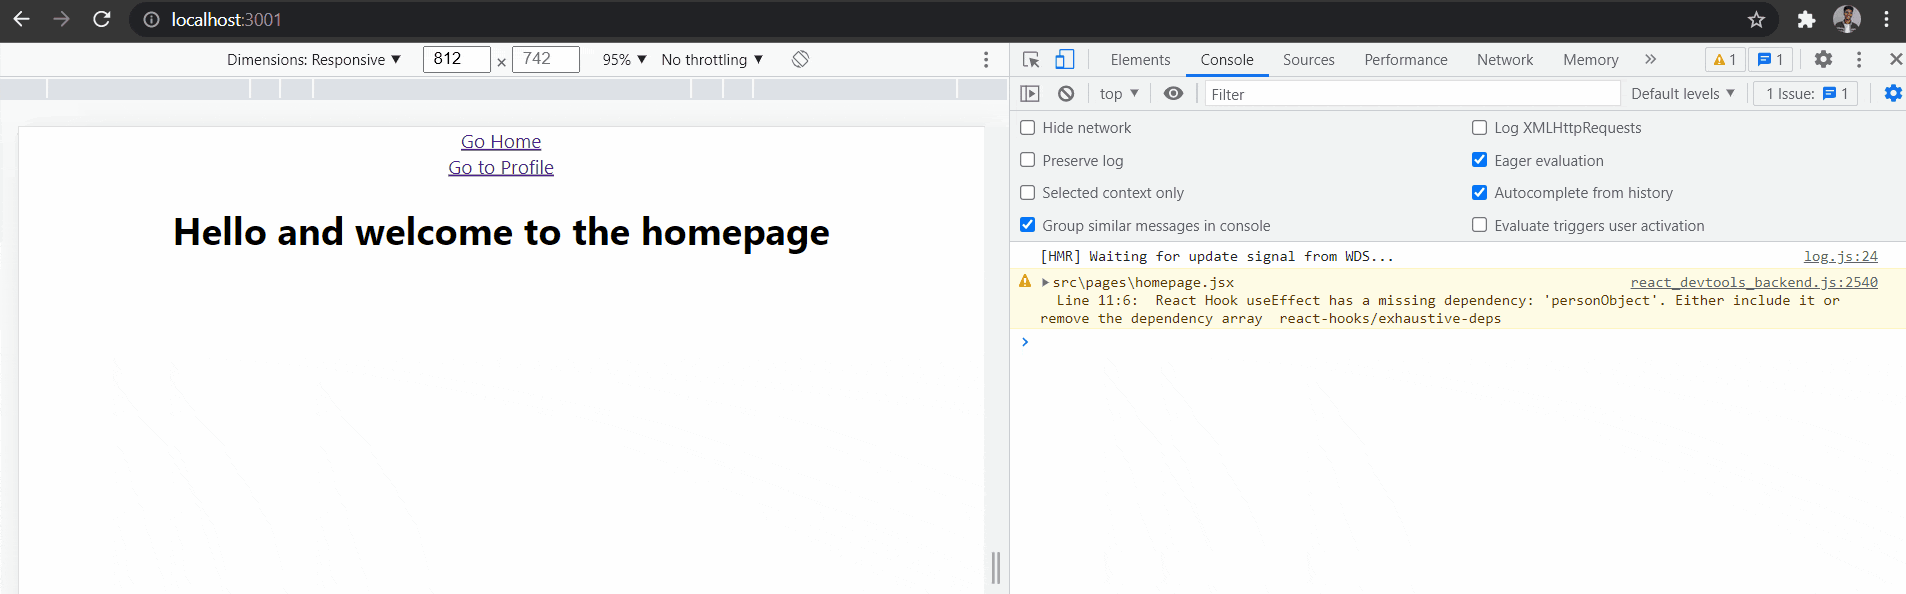
In the GIF above, you'll notice that when we navigate/switch to the profile component without allowing our asynchronous code running in the useEffect on the homepage to complete, it'll give us a warning in the console because even though the component that has the useEffect has been unmounted, the memory hasn't been cleared and the asyncronous code is still trying to resolve and trying to set the state which has already been unmounted.
So how do we fix that and recognize exactly when the component has unmounted so that we can cancel everything we had running?
Here's how we can write our useEffect() with the clean-up return function:
---

useEffect(() => {
    let isMounted = true
    setTimeout(() => {
      if(isMounted){
        setPersonObject({name: "Daniel Don"})
        alert("Here is the person object: ", JSON.stringify(personObject))
      }
    }, 2000);
    return () => {
      isMounted = false
    }
  }, [])

---
Let's explain what we did in the above peice of code; This time we declared a variable isMounted which just holds a boolean value of true or false. Inside oursetTimeout(), we conditionally call thesetPersonObject()and thealert()checking ifisMountedistrue. In ourreturnclean-up function we simply set theisMounted` variable to false.
Now that you've read that above, here's what is really happening in the function above:
When the component is mounted, a variable is declared called isMounted and it's initialized to true, setTimeout() is an asynchronous piece of code which takes the code out of the normal execution flow and waits for the timer to be resolved before running. If the component unmounts before the setTimeout() is completed, our clean-up function sets isMounted to false, now whenever the setTimeout() completes, the conditional if statement sees isMounted as false annd skips the remaining execution.
Now, we are able to prevent our component from trying to set the state of a component which is has been unmounted.
But what other type of scenario can a clean-up function be helpful?
Let's add a button on our profile page component and count the number of times it is clicked by increasing the state value anytime it is clicked on, the we'll use a useEffect hook to asynchronously display an alert of the current number of times the button has been clicked.
Here's our expected behavior:
Whenever our button is clicked multiple times before our
setTimeout()timer is completed, the timer should restart and we only want the alert to display for the last count of the button instead of displaying separate alerts for all the clicks.
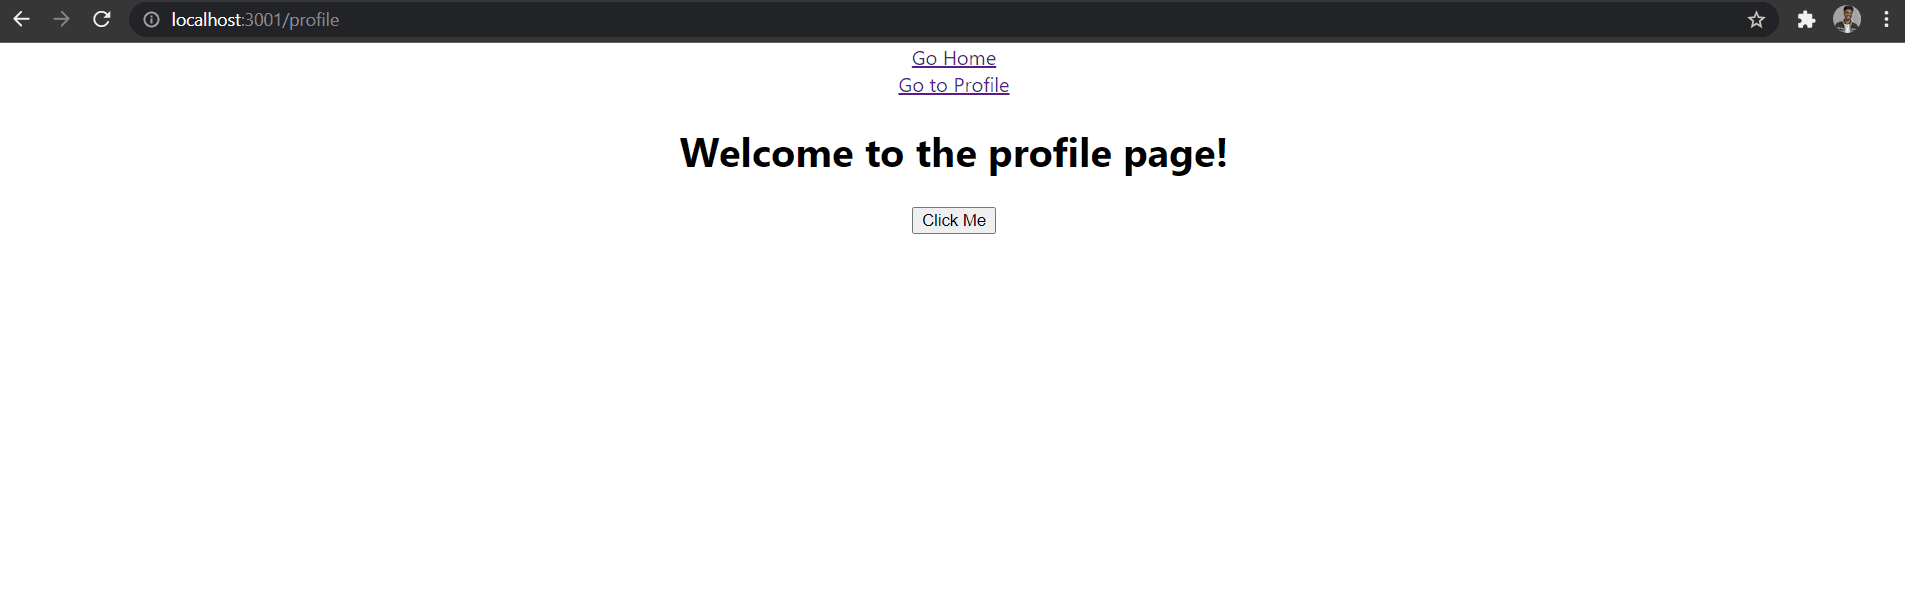
Now here's what our profile page would look like:
import React, { useState, useEffect } from 'react'

const ProfilePage = () => {
  const [buttonClickCount, setButtonClickCount] = useState(0)

  //  THIS IS THE useEffect WITH A DEPENDENCY

  useEffect(() => {
    setTimeout(() => {
      alert(`Number of clicks ${buttonClickCount}`)
    }, 1000);
  }, [buttonClickCount])


  const onButtonClick = () => {
    setButtonClickCount(buttonClickCount + 1)
  }

  return (
    <div>
      <h1>Welcome to the profile page!</h1>
      <button onClick={() => onButtonClick()}>Click Me</button>
    </div>
  )
}

export default ProfilePage
In the above code we created a state to store the count of times the button is clicked and we set it's default to 0 (zero), then we created an onButtonClick() function which simply add one (+1) to the state anytime the button is clicked on. the major thing here happens in the useEffect(), here we have a setTimeout() that waits for one second, then alerts the number of clicks., we also added the buttonClickCount as an array dependency in the useEffect() hook so that whenever it changes, the hook is called again.
Let's see the current behaviour without a clean-up function:
First thing that happens is that the alert pops up when the component mounts, which is an expected behaviour. Next thing you should notice is that once we start clicking on the button, we can only click it until the 1 second we set on the timer expires, and depending on the number of times we were able to click the button, it saves that number of alerts for us.
But here's the thing, like we mentioned in our desired behaviour, we only want the last click to be alerted to us, and we also want to be able to click as much as we want and have the timer restarted everytime we click on the button again within the timeframe of the last click timer.
Let's change our useEffect() a little bit to make this work.
Change your useEffect() hook to this:
useEffect(() => {
    let clickFinished = true
    setTimeout(() => {
      if(clickFinished){
        alert(`Number of clicks ${buttonClickCount}`)
      }
    }, 2000);
    return () => {
      clickFinished = false
    }
  }, [buttonClickCount])
In the above hook, we created a variable called clickFinished and assign it to true, this variable is used in our conditional statement to confirm that we're not still clicking on the button. In our clean-up return function, we set the clickFilished variable to false. Now whenever our button is clicked, it starts the timer, but if the button is clicked again, it jumps to the clean-up function and set the clickFinished for the last action to false, then remounts again and restarts the timer.
By approaching it this way, as far as the timer for the last click hasn't resolved, when we click the button again, clickFinished for that round is set to false and the component remounts. Since clickFinished is false in that round, when the setTimeout() resolves, the condition for true isn't met so nothing is alerted to the screen. The onlly alerted value to the screen would be the last click which is allowed to run its timer till completion, and the number of clicks it reflects is the last count found set in the state.
Let's take a look at the result:

Conclusion
These examples are basic examples but they show a scope of how important and powerful the clean-up functions can be in your code: from closing web sockets, to cancelling Axios rerquests, to so many other usecases you might find, etc., learning and understanding this can be one of the solution to some problems you're facing right now, or some future problems you might face.
Write in the comment section with other usecases you've found in using the clean-up functions, or tell me if you learned something here or found this interesting.
Follow me on LinkedIn and on twitter @iamdanieldon